
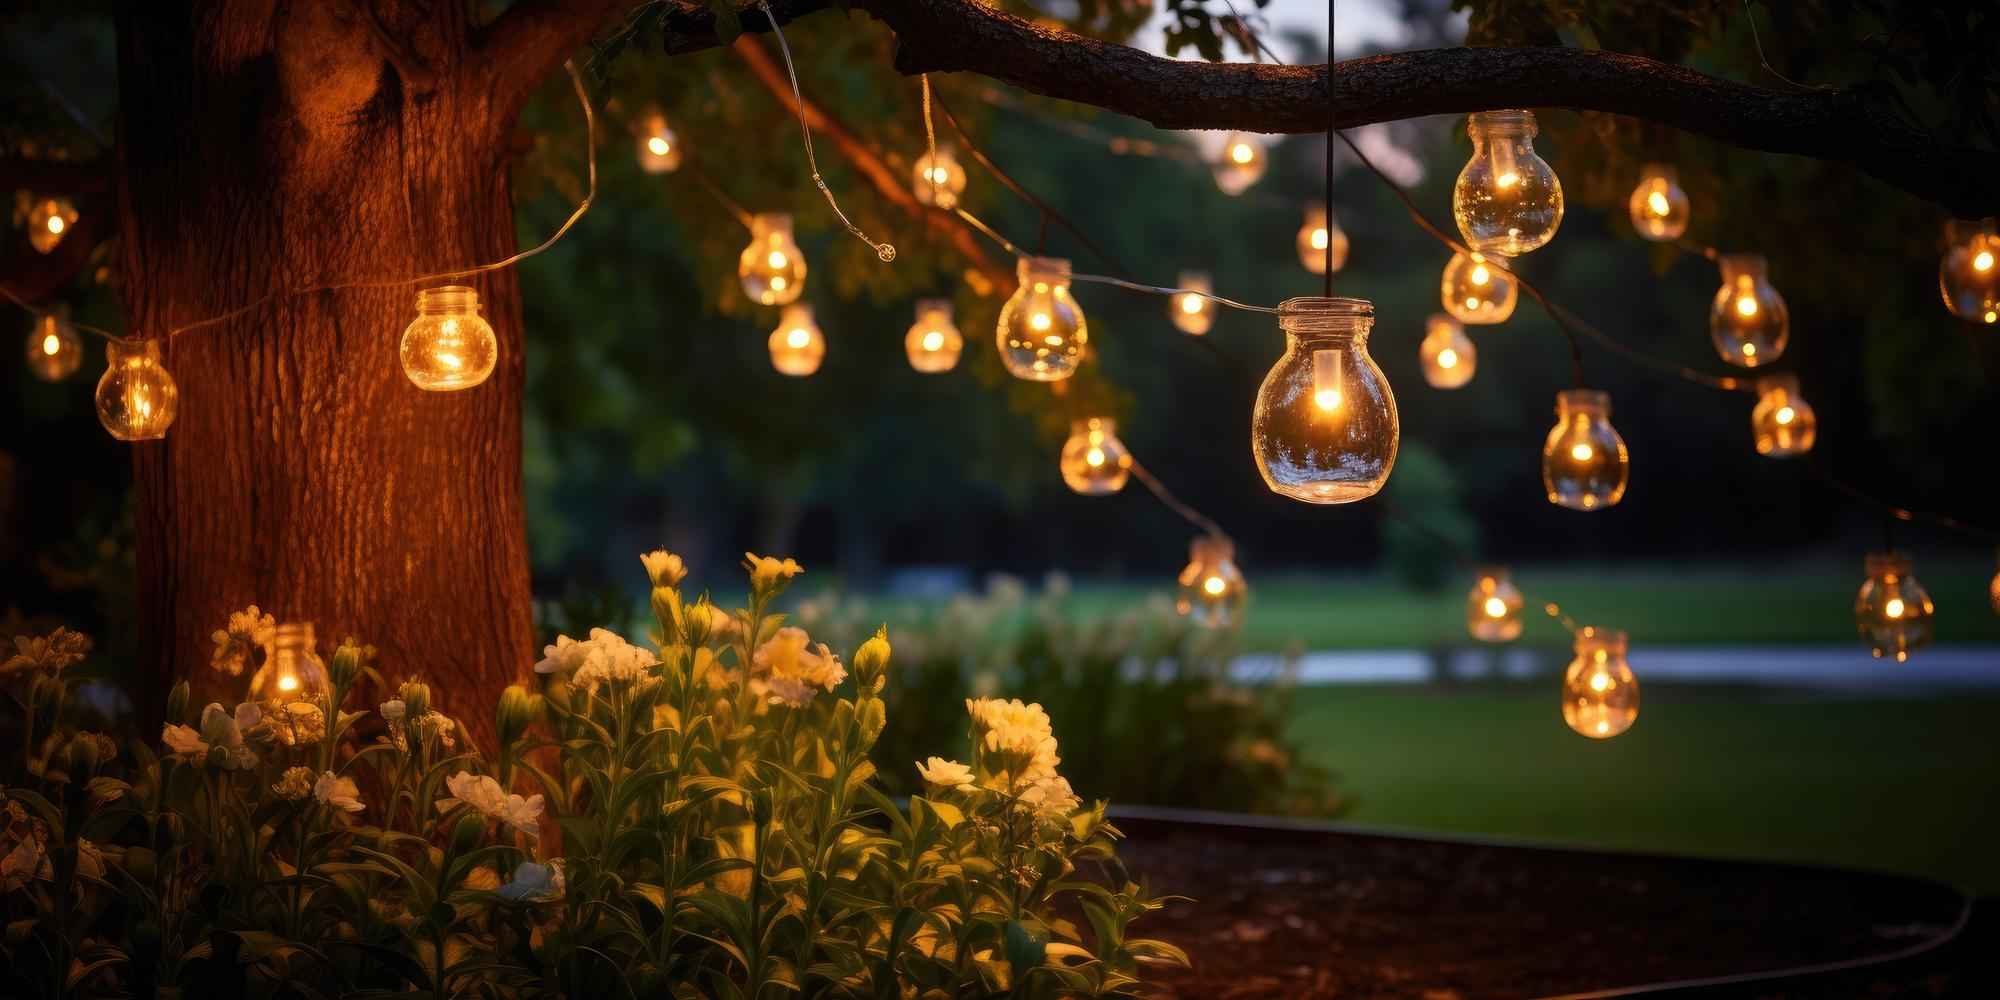
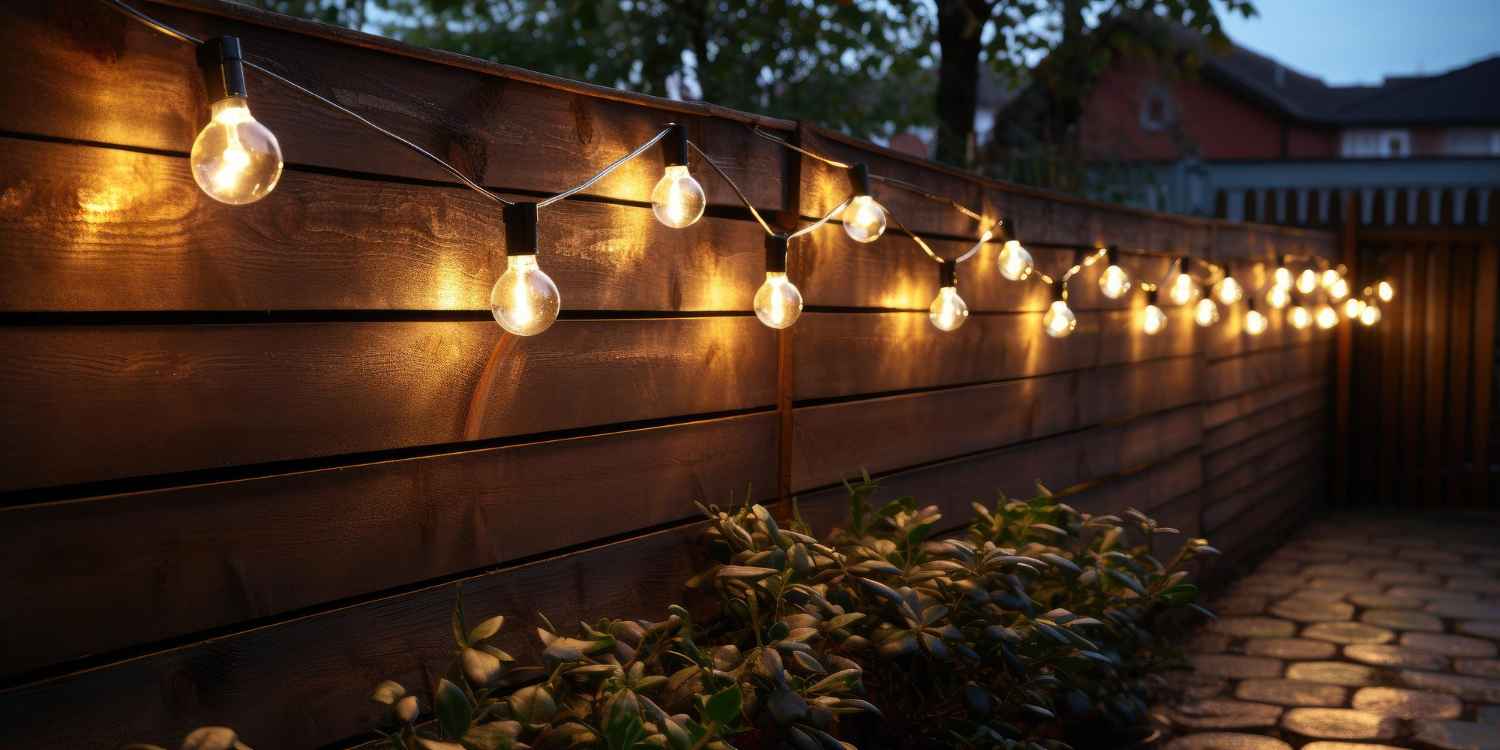
Garden Lighting in a Nutshell
You can transform your garden’s appearance with outdoor lighting to make it look more beautiful and charming. You can install different lights in your outdoor garden space, such as traditional lights, modern and contemporary lights, security lights, flood lights, etc, to add an aesthetic appeal. Outdoor garden lighting not only enhances your property’s aesthetic quality but also provides additional security when it gets dark outside.
Garden lights are generally of low voltage; therefore, these can be easily installed by anyone who has basic electrical knowledge. But if you do not have the required knowledge and experience, then you should hire a professional electrician to complete this work for you. In this way, you can ensure all the electrical work is done efficiently with safe connections.
This guide helps you learn about a low-voltage garden lighting system, including its components, guidelines, and safe installation techniques. It also covers types of IP ratings for garden lights, the importance of installing the right components, and how to power the garden lighting system. Moreover, you can also get information regarding the procedure of garden lighting installation and the associated safety measures.
Low-Voltage Garden Lighting System
Components
The following are three main components of a low-voltage garden lighting system:
- Transformer: It is plugged into an RCD or RDBO-protected outlet for reducing 120V current to 12V.
- Low-Voltage Outdoor Cables: These are used for carrying current from the transformer to garden lights.
- Garden Light Fittings: These are IP-rated and are connected to the transformer by using outdoor cables and wiring connectors.
Guidelines
- You may need to notify the authorities about low-voltage garden lighting installation under Building Regulations Part P in the UK.
- You need to have an electrical installation certificate if a new circuit has been run for lighting installation and is categorised as an ‘addition’.
- You need to set up a safe and flexible system which is capable of carrying the load of the installed lighting system, and it should comply with the highest standards.
- You are required to undertake all the safety measures if you are going to install it on your own.
- You are no longer required to notify the authorities if you install a lighting system without its own circuit, which is called an ‘alteration’ as per the revised regulations.
- You need to notify the authorities if you install a new circuit for adding new sockets and switches.
- You are required to ensure all the newly installed circuits comply with the latest BS7671 IET Wiring Regulations.
- You have to notify the Building Control Department of the local council for the inspection and testing of the new circuit installed at your property.
Safe Installation Techniques
The first step for the safe installation of garden lighting is to connect the power to an existing circuit with the help of a fused spur. A fused spur is one of the alternatives of plug and socket that helps run garden lighting via a single cable present outside of the ring main. A fuse is present in it that ensures protection against electric shocks.
You should also install an RCD (Residual Current Device) for further protection of the circuit from electrocution and ensure it can bear the extra load that would be put on that circuit. Moreover, the circuit should be well-insulated which requires the use of correct cables, fitting, and fixtures as well.
If you do not have electrical work experience and knowledge, then you should always hire a professional electrician to make your garden lighting system:
- Safe
- Flexible
- Functional
IP-Ratings for Garden Lights
According to experts, it is highly recommended to install only outdoor IP-Rated fixtures and fittings for your garden lighting system. IP is the acronym for “Ingress Protection” which represents the level of sealing in a particular fixture to limit the amount of dirt and water which can safely get into the unit. A light with the highest IP rating allows the minimum amount of dirt and water to get inside.
The following are some of the different types of garden lights which can be installed at different places based on their IP ratings:
- IP43 – Sheltered Outdoor Areas (Wall with an overhanging roof, garden shed)
- IP44 – Exposed Outdoor Areas (Wall, Pergola)
- IP65 – Exposed Outdoor Areas (Path, Deck)
- IP67 – Submerged in Shallow Water (Garden Pond, Water Feature)
- IP68 – Submerged in Deep Water (Swimming Pool)

Importance of Installing the Right Components
It is critical to ensure the right components are installed to make your garden lighting system fully functional, eliminating all the associated risks and problems.
Outdoor Bulbs
It is crucial to select the correct type of outdoor bulb, considering different factors, such as:
- Colour
- Light Type
- Voltage Level
- Brightness Level
You should check the light unit to identify the required wattage bulb based on the maximum voltage level that the system can hold safely. It is essential to install the correct watt bulb to achieve the desired level of brightness, preventing the issues of overheating, fitting damage, etc.
Outdoor Cables
It is crucial to select the correct wiring for garden lighting to avoid the issues of voltage drop. You should ensure to install cables away from flower beds so that they cannot get damaged accidently during regular soil turning.
On the other hand, if you require running cables through flower beds, then these should be kept close to the front edge. You should run them via an outdoor conduit for additional protection and bury them to a depth of almost 8 inches to ensure safety.
Transformer
You should purchase the right size and type of transformer so that it can efficiently convert high voltage values to a low voltage value for your garden lighting system. A small-sized transformer is suitable for the safe functioning of the lighting system in an average-sized garden. The required size of the transformer can be determined based on the number of lights to be installed and the required level of power for them to work efficiently.
You can also add up the wattage of each light bulb to determine the correct size of the transformer. However, you should buy the larger transformer to easily accommodate future changes if you plan to install new units.
How to Power the Garden Lighting System?
These are the two most popular options which can be used to power your garden lighting system based on its requirements safely:
Solar Power
Solar systems can be used for powering garden lights as it is an environmentally friendly option and also eliminates the requirement of wires and outdoor power. In this way, you can reduce the amount of cost required for paying electricity bills. However, solar powered garden lights are not as bright and do not allow flexible settings as wired lighting system allows.
Plug & Play Kit/System
A plug-and-play kit or system includes cables, light fixtures, and a plug-in transformer. It does not require to install wiring into the mains. It works by plugging this system into a socket, positioning the lights, and connecting the push-fit or screw-fit cables and connections properly. It is one of the easy and safe options for powering garden lighting systems with a simple installation process that does not require professional expertise.

Steps for Garden Lighting Installation
The following is a step-by-step procedure for the installation of garden lighting on your property:
- Determining the garden layout.
- Considering the areas, you want to illuminate, such as garden features, spots, walkways, etc.
- Selecting the right fixtures that are suitable for outdoor use and are weather resistant.
- Choosing the suitable type of bulbs by checking their IP rating to ensure safe and efficient working of the overall system.
- Gathering required materials and tools, including electrical cables, multimeter, drill, conduit, weather-resistant outlets, etc.
- Deciding about the power source for outdoor lighting.
- Routing cables by burying and running them underground and protecting them by using conduits.
- Mounting the lights to the walls by making all the connections secure and weather-resistant.
- Connecting the lights to the power source according to the manufacturer’s guidelines.
- Running a final check to ensure the safety of all connections and testing that the lighting system is fully functional.
Safety Measures
It would be best if you always remembered some of the critical safety measures while handling the garden lighting system, such as:
- Wearing all the safety equipment, such as gloves, goggles, and a face mask.
- Switching off the main power and the RCD.
- Taping over the main power switch to avoid accidental switching back.
- Testing all the circuits to ensure they work safely.
- Performing voltage tests to ensure all the work is finished safely.
- Installing all the components in compliance with local Building Regulations and the latest Wiring Regulations.
Conclusion
Outdoor garden lighting enhances the aesthetic appeal of your property with ensured security. The right plan, necessary tools and equipment, and electrical safety knowledge are all essential to ensure the safe installation and proper working of your lighting system. Moreover, it is also vital to ensure that garden lighting installation complies with the relevant regulations to ensure foolproof safety.